Queries
Queries are used to fetch data from different sources and OmniFi supports a wide range of different query types such as file based queries, database queries and APIs. The choice of query type depends on the source system, for example a TMS like Wallstreet Suite, FIS Quantum or a generic database.
Users can also develop their own bespoke query types by creating an Extension Query
Querying Data
The Query Configuration Wizard guides the user through the query creation process in a stepwise fashion. The wizard will look different depending on the data source, but the general process is similar for all query types. More information about specific data sources can be found in the Data Sources chapter.
Queries can either be consumed by a report in OmniFi or be output directly to Excel.
Step 1: Create a new Query
Queries are created and managed through the Excel Plugin of OmniFi. To begin the process, log in to OmniFi from Excel and click New under the Queries section in the OmniFi Ribbon menu.

OmniFi Excel Ribbon
Step 2: Select a Data Source
In the Query Configuration Wizard that appears, choose a Data Source.
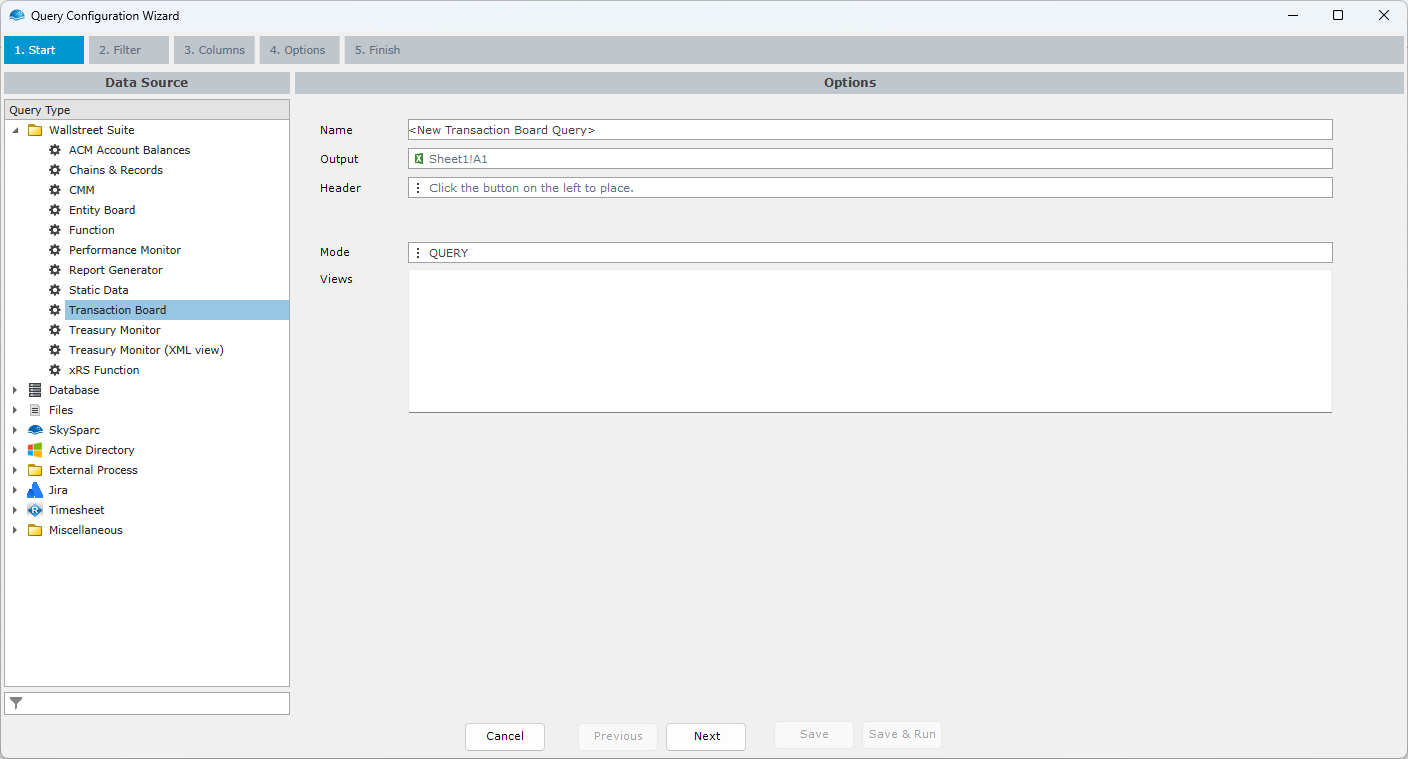
Available query types are organized into categories in the left-hand panel. Select one of the available query types. The options available to the user is dependent on both user permissions defined in the OmniFi Administration tool as well as OmniFi system configuration.
See Data Sources for more details on the different data sources
Step 3: Configure Options
Some data sources require additional parameters before you can proceed. Inputs for these additional parameters are shown in the right-hand panel.
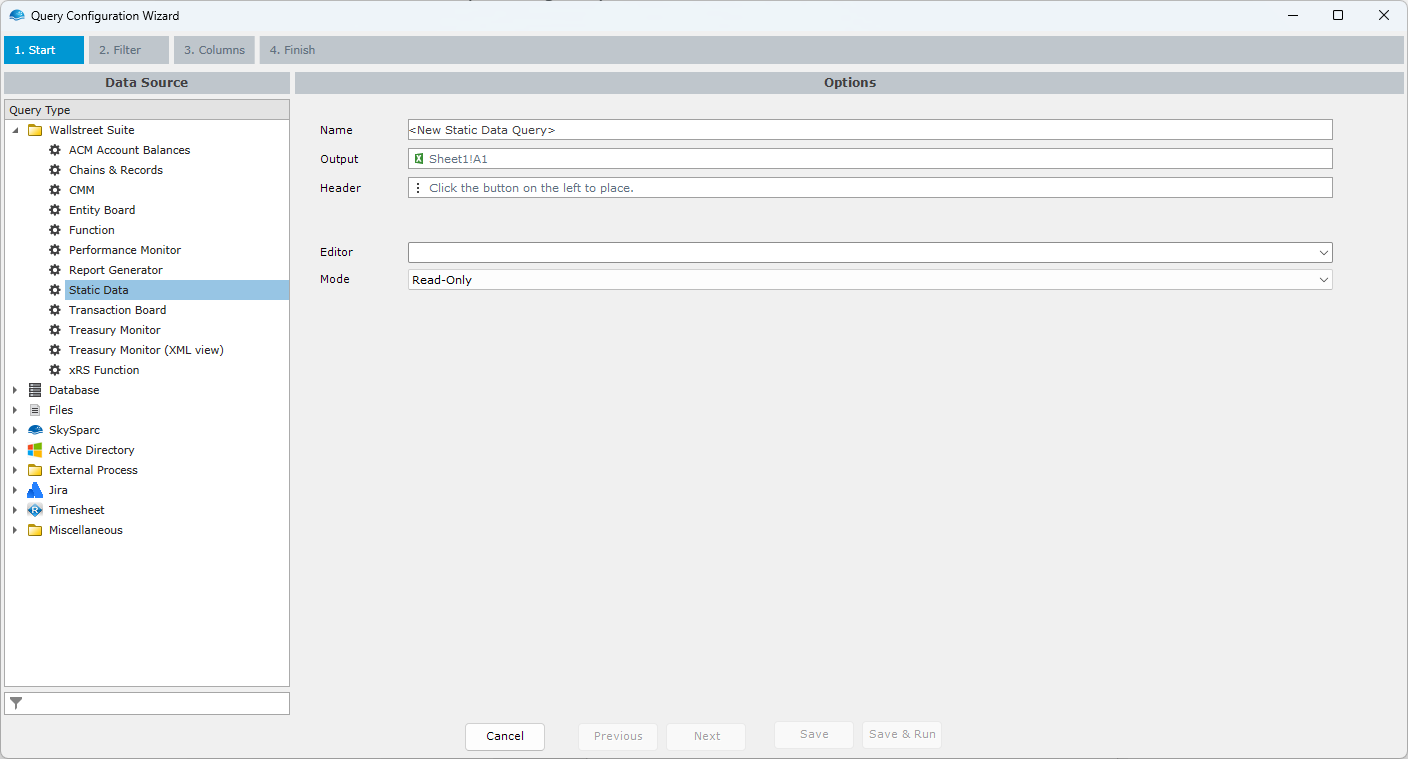
The Static Data query type requires you to select a specific editor before you can proceed.
Step 4: Name the Query
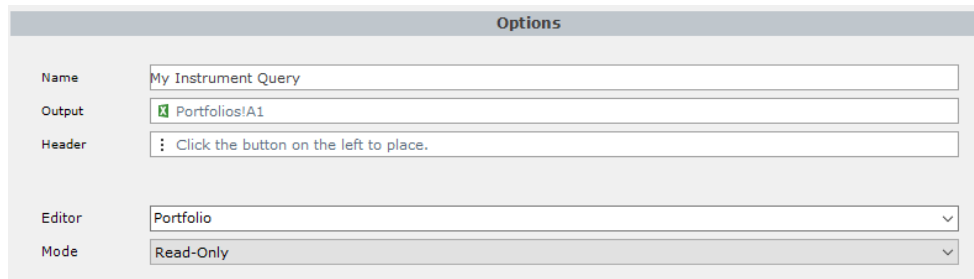
Step 5: Place Query Output
The Output and Header can be placed in Excel by clicking the button next to the respective textbox. The cell selection tool will be shown, then click a cell in the active Excel workbook that will serve as the uppermost left corner of the output range.

The remaining steps of the query configuration is dependent on the data source chosen. More information about the data source specific steps can be found in Data Sources
The query Headers provide information about the query such as query type, name, execution information, criteria used, parameters chosen, and many more. If the Output is left blank, the query result will be stored but not displayed. If the Header is left blank, no header information will be stored.
Finding Data Sources
Depending on what underlying systems you have connected, you may have access to a large number of data sources. To quickly find the data source you need, you can use the search field in Query Wizard.
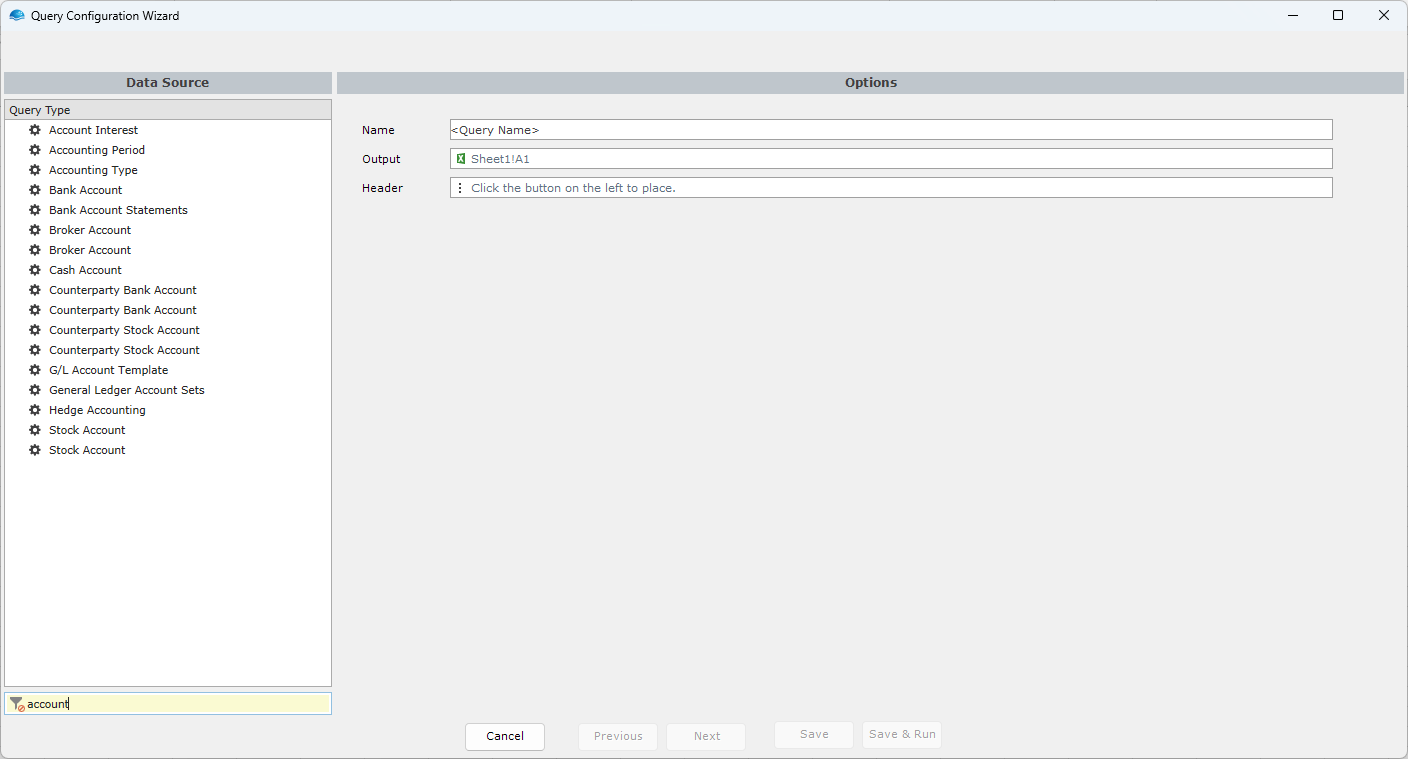
The folder levels are removed, and data sources matching your search string are shown.
To revert to the full view again, clear the search field or click the filter icon on the left-hand side of the search field.
Keyboard Shortcuts
Below are a list of keyboard shortcuts that can be used to facilitate the browsing and selection of fields in queries.
- Up and Down arrows move the selection cursor up and down.
- Right and Left arrows expand and collapse groups.
- If the selection cursor is currently within a group, Ctrl + Up/Down moves the cursor out of the group.
- Shift + Up/Down selects a range of fields that can then be added or sorted together.
- Spacebar adds or removes selected fields.
- Alt + Up/Down sorts selected fields on the right hand side.
Navigation Bar
The Navigation Bar is located at the top of the Query Configuration Wizard.

Navigation Bar
It shows the steps necessary to complete the configuration of the selected query type.
When configuring a new query, each view becomes available one step at a time. When modifying an existing query, all views are available, allowing you to navigate directly to the view containing the configuration or parameters to be changed by clicking the corresponding item in the navigation bar.
Updated about 1 year ago