Quantum Report
You can query a report by selecting one of the available report types, e.g. Quantum > Reports > Accounting > Position:
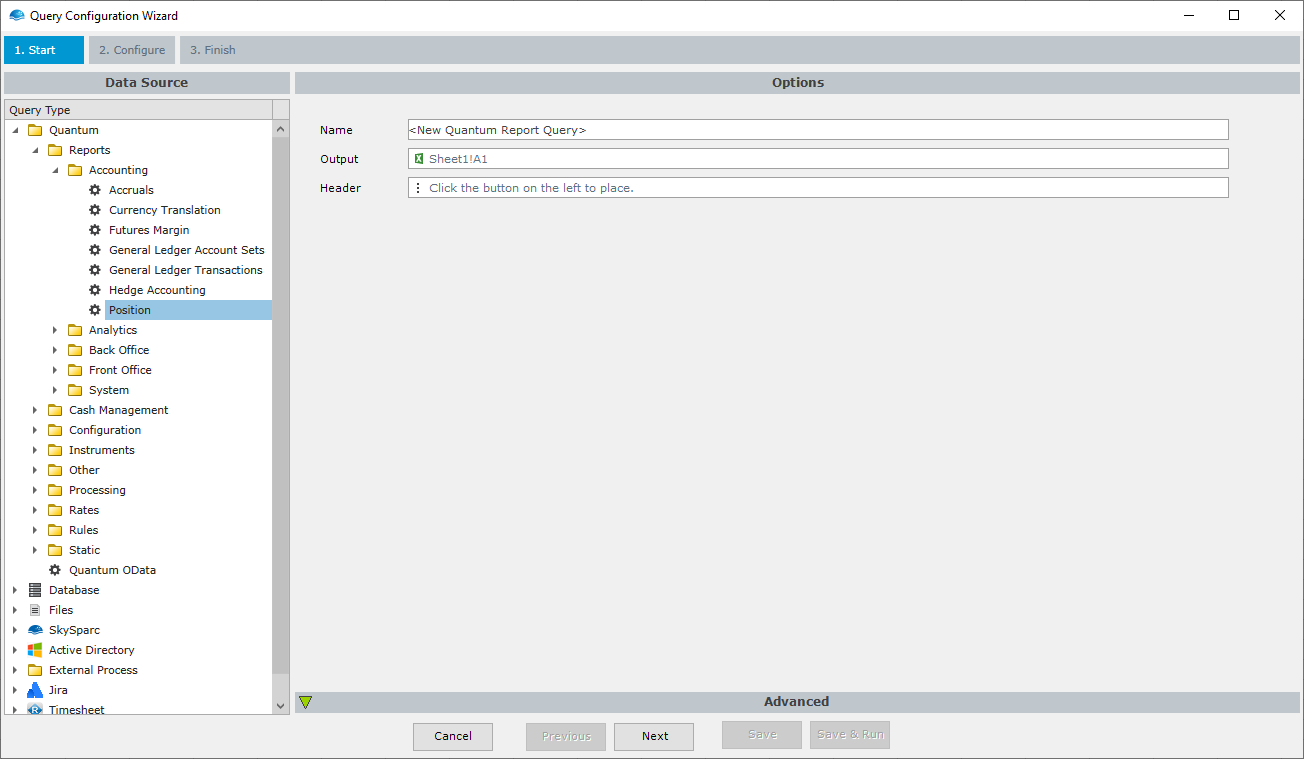
Click Next to move to the configuration screen.
Configuration Screen
The Configuration screen lets you configure query, view, report parameters and filter, and provides a data preview.

Query and View
You can select what Query and View to run the report with using the corresponding drop-downs in the page toolbar. If you leave these options blank, the default query and view configured for the report type will be used.

The Quantum OData API only supports Table report views. Only Table views are listed in the View drop-down, however, the default view can be for example a Pivot view, in which case the report fails to run. In this case, configure the query to explicitly use a report view you know is a Table view.
Report Parameters
Most reports in Quantum support a set of parameters that control selection, calculation and translation of the report data. Available report parameters are listed under Report Parameters in Query Wizard:

The Position report, as depicted above, supports many parameters, however, depending on configuration of the query and view used, many parameters will have default values. If you leave a parameter blank, the configured default value will be used.
You can link report parameters to OmniFi parameters or Excel cells for run-time control over the query, as described in Parameterization and External References.
OmniFi, by default, lists all standard report parameters. If you want to run a report that, by customization, requires a parameter that isn't listed you can add your own parameter by clicking the bar at the top of the Report Parameters table that reads Click here to add a new parameter.
Conditions
Conditions allows you to further filter the report data by adding filter criteria to the Conditions section of Query Wizard.

To add a new condition
- Click the bar at the top of the Conditions table that reads Click here to add a new condition.
- Select a field to filter on from the drop-down (the fields drop down is only available after the preview has been refreshed once).
- Select one of the availble operators, optionally inverting it using the Not checkbox.
- Type in the comparison value in the Value field. Date and Time values are entered using the ISO date time format, e.g.
2022-01-15T13:00:00Z.
Although conditions are useful to minimize the amount of data sent across the network, the filter is applied after the report is run, which means it doesn't provide any performance benefits in running the report.
If an applicable Report Parameter is available that produces the corresponding result, it is much better to use that instead of Conditions, since it is applied while running the report, and can have more profound performance benefits.
Refreshing Preview
While configuring your query, it is useful to visualize the output and identify any problems using the preview. You can refresh the preview by clicking the Refresh button in the screen toolbar. You can also set the number of preview rows using the drop-down control, but note that as with Conditions, the row limit is applied after the report has run, and long-running reports are likely to be long running regardless of what row limit you set.
Settings
Some rarely used options are collected under the settings flyout. The settings flyout is opened using the Settings button at the far right of the toolbar.

From the settings menu you can configure
- URL of the odata API. Allows you to consume API data from a different instance.
- Timeout of the query. For very long-running reports it may be neccessary to increase the timeout.
- Max records of the query. Limits the returned data set to a specified number of records.
You can also configure the query to run with with a specific user account, if needed. This is particularly useful if you configure a cusom URL for which your current account isn't valid.
Advanced Query
Lastly, the Quantum Report query supports an advanced mode that lets you bypass the user interface and configure your request parameters manually.
To initiate Advanced Mode, click the Convert button in the toolbar. Your current configuration, including Report Parameters, Conditions, Max records and the query Timeout will be converted to request parameters and output into the Advanced Query section at the bottom of the screen.
From here you can modify the request parameters and add options and transformations that aren't supported by the user interface.

Updated about 1 year ago