Tables
Models can be deployed into data mart tables from the Tables view.
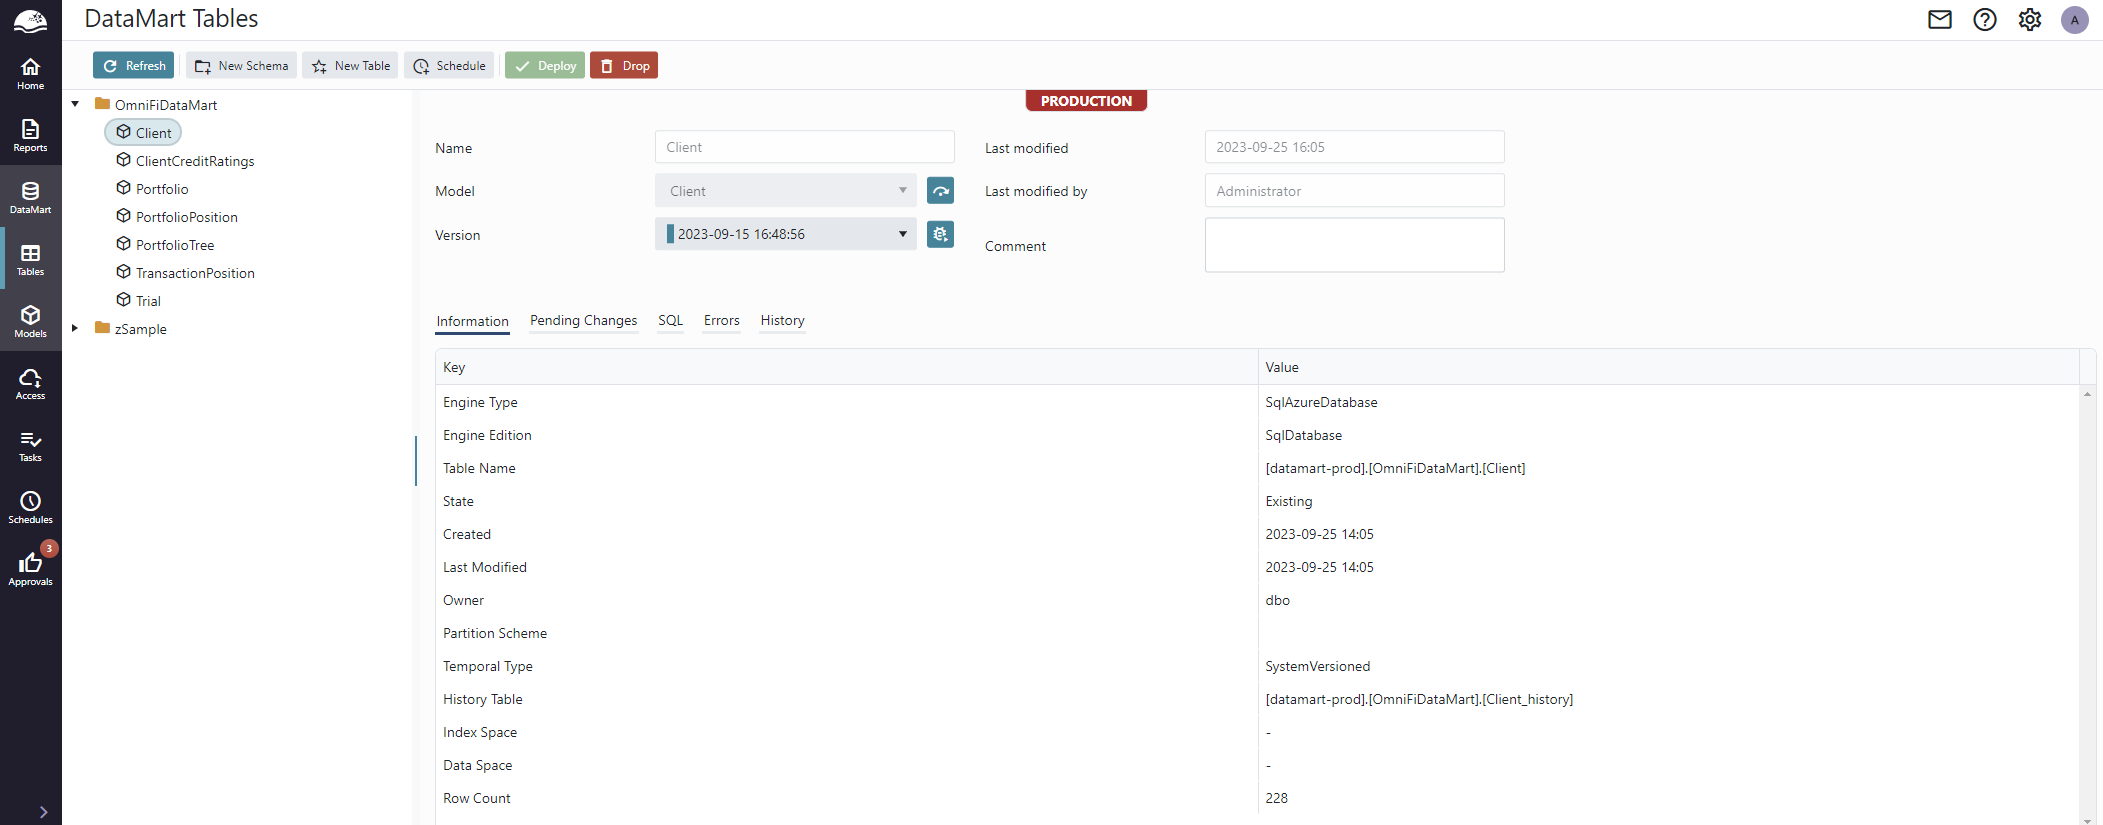
The tables are grouped by database schema, which means, in contrast to other views in OmniFi Web with a similar layout, you can only have one level of grouping.
A table is deployed to a specific database schema, a logical grouping within the database that can be configured e.g. with different user permissions.
Database schemas
OmniFi Data Mart supports any number of schemas for various purpose, e.g. to mirror a change control workflow [dev], [test], [prod] or separation into separate functional silos, [frontoffice], [riskcontrol], [accounting]. Proper use of schemas provides transparency to the data structure of your mart.
The "New Schema" button creates a new schema in the mart database, with a name and an optional comment.
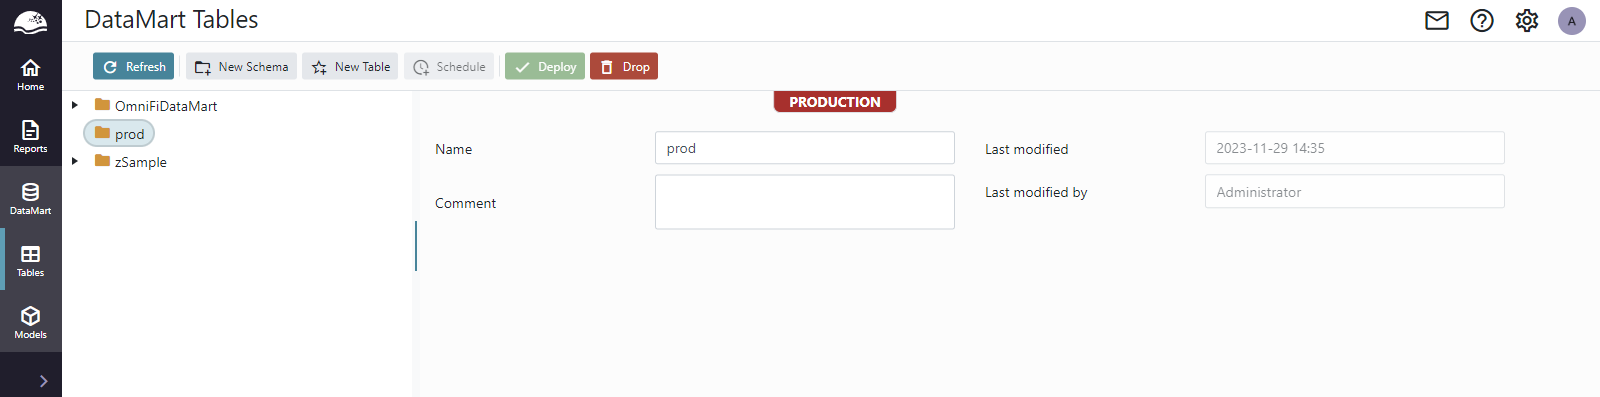
The schema isn't created in the database until you deploy a table into it, and only unless the schema doesn't already exist. This allows integrating OmniFi Data Mart to an existing data mart solution and use it in orchestration with specialized solutions for other source systems.
For each schema created an additional staging schema "<schema>_stage" is created. This is used by the ETL pipeline when loading data.
Creating a table
To create a table, select the schema and click the New Table button.
Enter a name for the table and select the model and version to deploy, and optionally provide a comment.
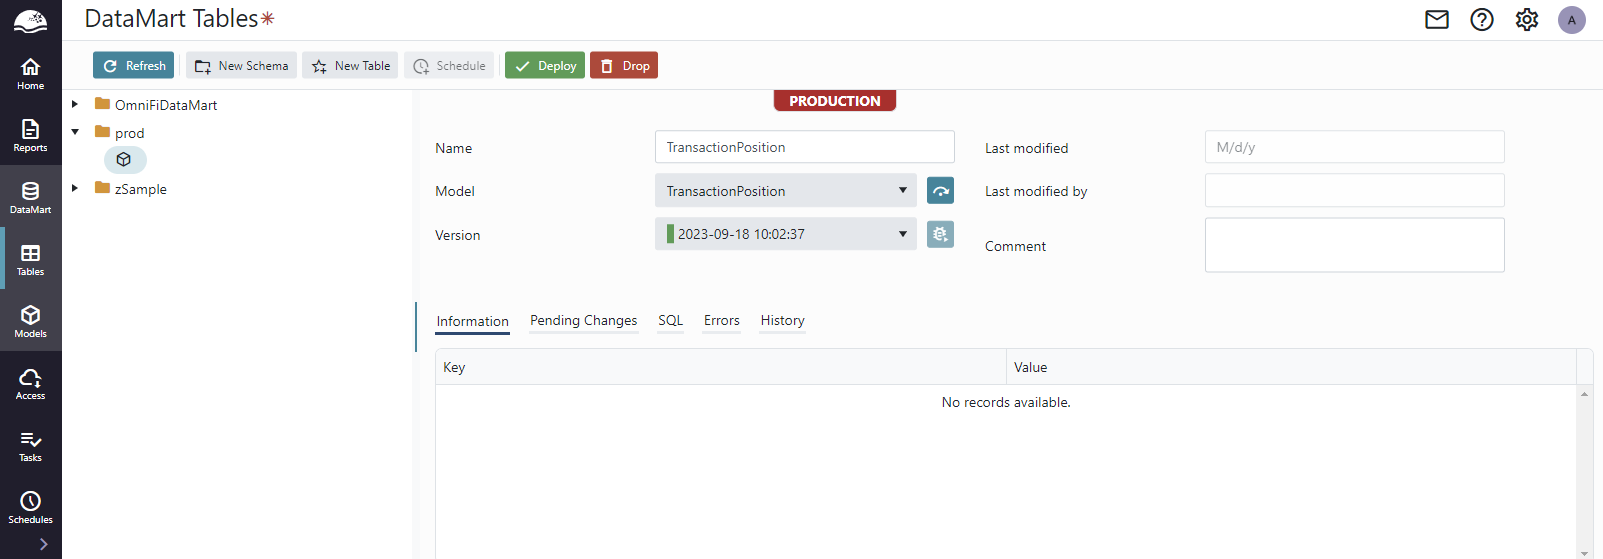
Don't forget to click the Deploy button to deploy the table into the mart database.
Table migrations
Data mart models are version handled. When a model has been deployed to a table, a new, modified version of the model can be created to which the table can be migrated.
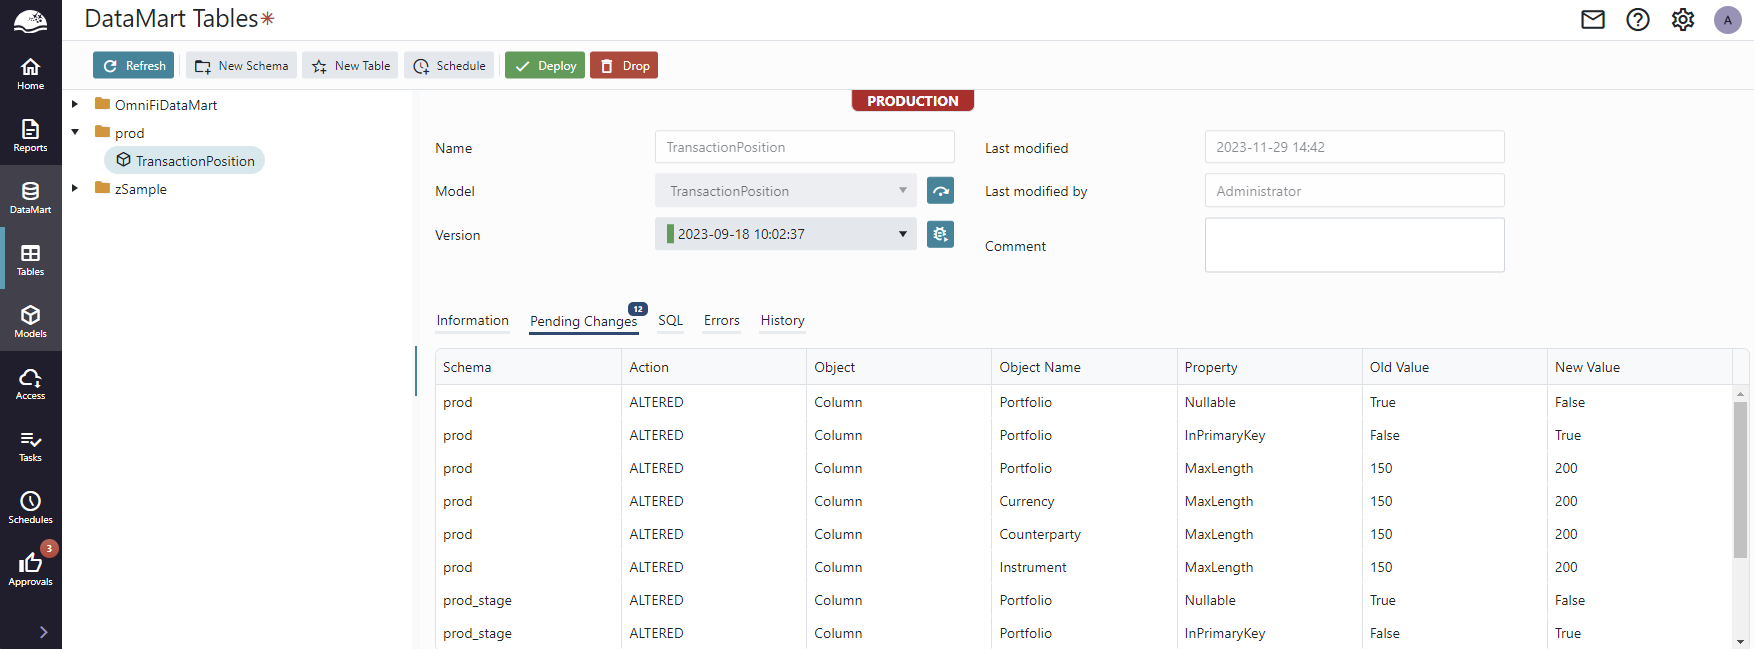
Tables are migrated to a new model version from the table details page. Selecting the new version of the model in Version drop-down will validate the table against the new model and display the required changes in the Validation tab.
While the Validation tab shows a list of changes, the SQL tab shows the corresponding SQL statements that will be executed in the database.
Clicking "Save & Apply changes" executes the statements in the mart database and performs the migration.
The table can be checked for discrepancy with the current version by clicking the Run Test button next to the version selector.

The table is checked against the model version selected in the drop-down, populating the Validation and SQL tabs, also if that is the version currently linked to the table.
This allows for an alternative workflow for applying migrations. If you copy the SQL statements from the SQL tab (without applying the migration on the web page), you can run them directly in the database to perform the migrations manually. Going back and refreshing the Table Details page will show an inverse difference. If you then select and apply the latest target version again, the migration will run through without making any actual changes to the database.
This alternative workflow is a bit more involved than the automated way, but it can be useful if you need to apply additional modifications not supported by the automated workflow, such as modifying the primary key
Unsupported migrations
Many common changes to the table can be performed automatically by applying table migrations. However, not all changes are supported.
A common example is modifying the primary key of the table by adding or removing the column role Primary Key to any column, or to add or remove a parameter value on the model (open/close the parameter) the primary key changes.
This migration cannot be automated, since the SQL server doesn't support it, and the ERROR tab displays the details of the problem even before we have tried to apply the migration by clicking "Save & Apply changes".
This makes an important point about how the table migrations work: OmniFi Data Mart uses a generally optimistic try-fail approach. Operations are attempted and if they fail they are rolled back, and the SQL error is communicated to the user. It does this already in the validation of the migration, executing the migration in a transaction that is always rolled back.
This behavior is very useful to handle the edge cases, where a modification is generally supported, but the data may prevent the migration from finishing successfully. One such case is reconfiguring a String/nvarchar column with a smaller Max Size. The resulting ALTER TABLE statement is legal but will fail if any of the data in the column exceeds the new maximum size. Another example is changing the data type of a column. Many alterations to columns are supported natively by the SQL server, such as changing a column from nvarchar to integer data type, provided that all string values in the column can be interpreted as an integer.

| Migration | Supported | No Data Loss? | No History Removal? | Note |
|---|---|---|---|---|
| Add Value Column | ✅ | ✅ | ❌ | Column must be either nullable or have a default value. |
| Remove Value Column | ✅ | N/A | N/A | Column removed from history as well. |
| Rename Value Column | ✅ | ❌ | ❌ | The original column is dropped and a new one is added. Data needs to be migrated manually. |
| Change Value Column Type | ✅ | ✅ | ✅ | Works if the types are compatible and auto-converting in MSSQL e.g. "42" -> 42. |
| Change Column Max Size | ✅ | ✅ | ✅ | Fails if any value exceeds the new max size |
| Make column nullable | ✅ | ✅ | ✅ | |
| Change column default value | ✅ | ✅ | ✅ | |
| Make column not nullable | ✅ | ✅ | ✅ | Fails if any column value is null. |
| Add table index | ✅ | ✅ | ✅ | |
| Modify table index | ✅ | ✅ | ✅ | Fails if the index is made unique, where the data is not. |
| Remove table index | ✅ | ✅ | ✅ | |
| Add closed parameter | ✅ | ✅ | ✅ | Fails if a previously open parameter is closed. |
| Modify closed parameter value | ✅ | ✅ | ✅ | Fails if modifying to null (opening the parameter) |
| Remove closed parameter | ✅ | ✅ | ✅ | Fails if a previously closed parameter is opened. |
| Add Open Parameter | ❌ | N/A | N/A | Affects PK, prevented by SQL server |
| Remove Open Parameter | ❌ | N/A | N/A | Affects PK, prevented by SQL server |
| Rename Open Parameter | ❌ | N/A | N/A | Affects PK, prevented by SQL server |
| Add PK Column | ❌ | N/A | N/A | Affects PK, prevented by SQL server |
| Remove PK Column | ❌ | N/A | N/A | Affects PK, prevented by SQL server |
| Change VD | ❌ | N/A | N/A | Affects PK, prevented by SQL server |
Updated about 1 year ago